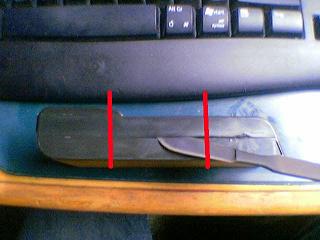
Position the battery pack as shown. The red lines mark the best entry points for the scalpel. Once the tip of the scalpel has entered the case, pull it slightly to the direction of the blade. The two parts of the case are just glued together together so the glue will be not much resistance for the scalpel.
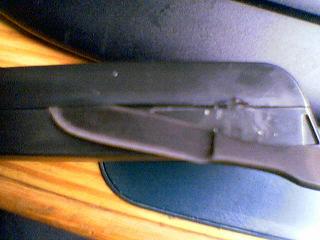
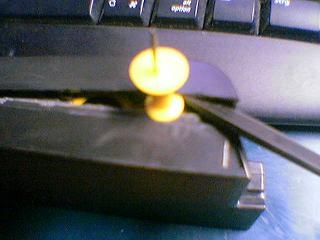
Once the complete side of the case has been loosened, try to hold a rift open by turning the blade of the scalpel as a lever between the parts of the case. Then you can stick the round backside of a pin board pin inside the case. The edge of the pin will prevent it from slipping out again. Pull the pin towards the right corner of the case until the corner pops apart. Help out the scalpel if necessary. Insert another pin here to keep the pack open.
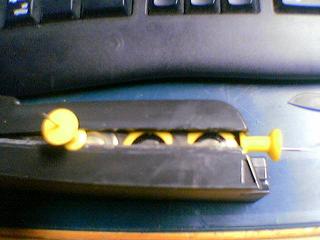
Keep the right pin in its place and pull the other one to the left. Once you have reached the right corner and it pops apart, the case is almost half open.
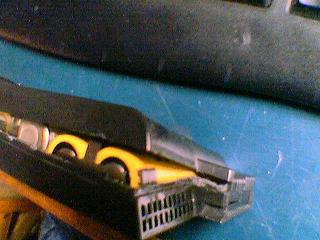
The case is half open, only the backside corner is still glued together.
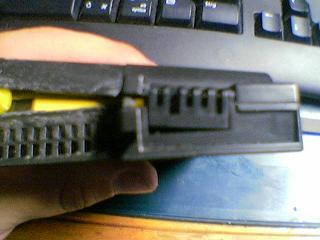
Spread the two parts of the case. With the scalpel as lever you can loosen the glue left and right of the connector. Note that the connector itself is not glued in. Once you have passed the connector, proceed with the next corner like in picture 3. After that, open the second long side of the pack with a pin.
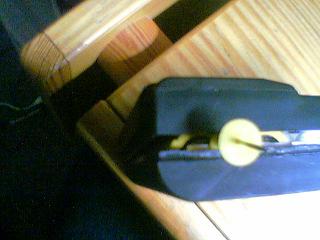
On the left corner of the starting side, the pin is still in its place. Keep it in there although the whole case is pretty loose at this point. Keeping at least one pin between the case parts at any time during the process saves a lot of trouble. The thick side of the pack opposed to the connector should now be the only side still glued together.
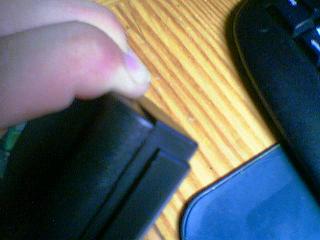
Put the pack in one hand and press the both parts of the pack in opposed direction, one pressing with the fingers, the other with the thumb. This loosens the glue even more especially in the corners. Continue until the parts are separated. The Cells and the electronic are fixed on the part of the case that is located inside the ThinkPad when the pack is installed. Maybe the outer part of the case sticks a little to some stripes of double tape on the cells.
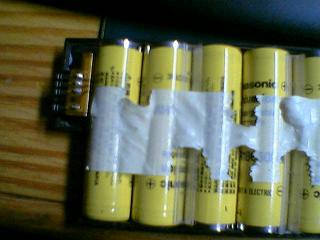
This is how the cells look like. The white stuff is the remaining double tape. Peel it of.
Open the electronics protection like the rest of the pack. Best entry point for the scalpel is the middle of one of the shorter sides.
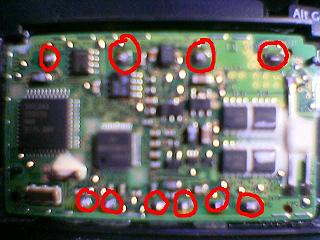
This is the electronics board, the "intelligence" of the battery pack. Sorry for the soft picture. There are 10 big solder points (marked in red). These are the connection to the backplane of the cells. Solder these out to get the backplane with the cells out of the case.